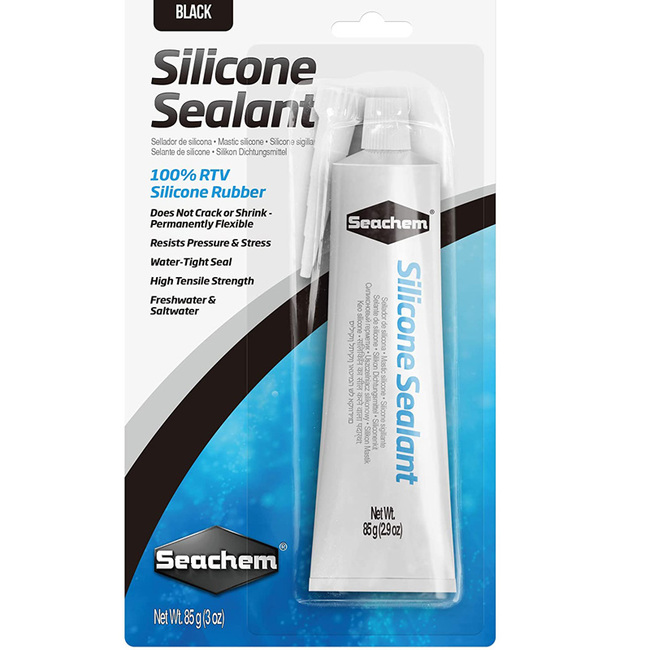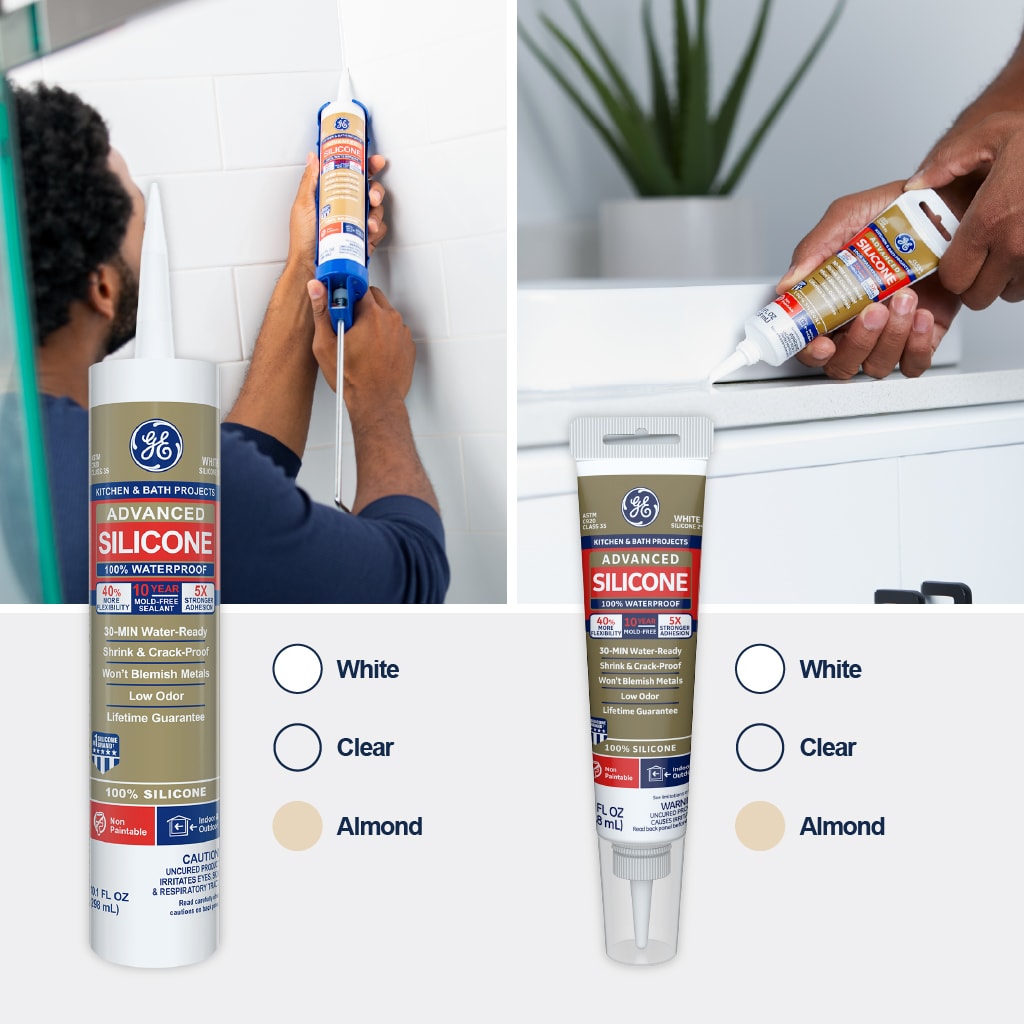
Silicone Sealant
Silicone sealant is a strong and versatile sealant that can be applied to a wide range of materials. It is also a great option for home projects.
It is resistant to moisture, chemicals and outdoor weather conditions, maintains its flexibility at low and high temperatures and is non-shrinkable. It can be used for PVC, aluminum and wood joinery, bathtubs, sinks, tiles and ceramics.
Waterproof
Silicone Sealant is a popular choice for creating waterproof joins and filling gaps in many different types of surfaces. This is because it can withstand a range of demanding conditions both indoors and outdoors, is chemically unreactive, does not promote mould growth and will usually bond effortlessly to many other different materials, too.
Often sold as a liquid gel, silicone sealant products will then cure to become more solid, rubber-like after being allowed to dry under suitable temperature and humidity conditions over a period of time. These can be sold in a variety of different formats, including standalone squeeze tubes and larger, rigid cartridges for manual application by hand, or in convenient applicator devices, such as caulking guns and dispensing syringes.
When applying a silicone sealant, it is important to follow the manufacturer’s instructions and product recommendations carefully. This is particularly true when it comes to ensuring that the correct product has been chosen for the particular project in question, as there are a number of different varieties that are specifically designed to perform differently.
For example, some silicone sealants are more resistant to mould growth than others. These can be especially useful when it comes to sealing gaps in areas that are likely to have a lot of moisture within them, such as a bathroom or kitchen.
It’s also a good idea to check whether the specific kind of silicone sealant you’re planning on using is able to withstand excessive heat and cold once it’s been applied. This can make a difference to how well it’s able to cure around a join and can impact on its overall performance.
Once you’ve chosen a suitable silicone sealant for your project, it’s time to get to work. The first step is to prepare the surface being sealed by cleaning it thoroughly, as this will help to ensure that the silicone will be able to stick to it and form a strong and durable seal.
The next step is to apply the silicone sealant to the affected area, making sure to spread it out evenly so that you have a consistent bead of sealant that will fully cover the gap in question. Ideally, you should use a caulking gun to dispense the silicone sealant into the relevant gaps.
Durable
Silicone sealant is a great option for a variety of projects around your home or work place. It can be used to seal many types of surfaces, including wood, metal, plastic, and glass. Moreover, it can be used to repair damage, fill gaps, and create a weatherproof barrier.
It is also incredibly durable and easy to apply. In fact, you can often complete a project Silicone Sealant in just a few hours.
In addition, it is able to withstand a wide range of temperatures without reacting or burning. This means that it is suitable for a number of industrial and household purposes, such as sealing valve covers, water pumps, exhaust manifolds, and thermostat housings.
The durability of silicone sealant comes from its elasticity and flexibility. This helps it withstand a wide range of temperature changes and prevents it from cracking or deteriorating.
Another important factor is its resistance to chemicals and moisture. This allows it to resist mold, mildew, and fungus growth. In addition, it is resistant to corrosion and rust.
Unlike other types of caulk, which may need to be reapplied after each storm, silicone is waterproof and can last up to 20 years in most applications. However, it should be replaced regularly, since it will wear out over time.
If you are unsure about how to choose the best sealant for your needs, consider a few things, such as the type of material it will be applied to, the level of movement it will require, and the amount of force needed to stretch it. You should also look for a sealant that is low in odor and doesn’t release any harmful substances when it dries.
It’s also worth considering the type of adhesive that is used in your silicone sealant. Some types of silicone have a high modulus and are more flexible, while others have a low modulus and are more rigid.
A good choice for a kitchen or bathroom application, this low-odor, VOC-compliant silicone sealant is durable and easy to clean with water. It is also mildew-resistant and dries quickly.
The only thing that could cause damage to your silicone sealant is moisture, but it shouldn’t be a problem as long as you apply it properly. This is why it’s important to keep the nozzle attached at all times, Silicone Sealant and to store the product in a cool, dry environment if possible.
Easy to apply
Silicone sealants are popular amongst professionals and DIY hobbyists alike because they’re incredibly easy to apply. They don’t need any preparation and are able to form a waterproof join between any two surfaces, regardless of their composition.
They’re also incredibly resistant to mould growth, making them an excellent choice for sealing kitchen and bathroom surfaces as well as sealing a gap in the corner of a wall. However, if you do decide to use this type of sealant, make sure to prepare the surface well and clean it thoroughly before applying any new silicone.
If you are unsure whether the surface is properly prepared, or if you’re just not confident in your ability to apply the sealant, it’s a good idea to call a professional for a consultation. This will ensure that you are using the right product and that your project is safe to go ahead with.
Before you apply your new sealant, be sure to prep the area with a mixture of water and washing up liquid. This will help to give the silicone the best chance of bonding with the surface. It will also help to prevent the silicone from sticking to your fingers and will stop it forming a ridge or bump along the joint.
Once you have applied the silicone, it’s a good idea to wait for a while before allowing it to dry. On average, a good silicone sealant will be touch dry in one to three hours, but it’s always worth waiting a little longer than this to ensure that the sealant is completely dry before allowing it to be exposed to the elements.
When it comes to removing silicone sealant, there are several different methods available. Among them are heat guns, blow dryers and solvent options such as vinegar, alcohol or WD-40.
You can also scrape the silicone sealant off with a sharp knife or small utility knife. Be careful not to damage the surrounding areas and try to scrape away the sealant without using too much force. If the sealant is very thick, it may be more difficult to remove than expected.
Easy to clean
Silicone sealant is a popular choice for professionals and DIY hobbyists alike, as it’s easy to use and creates a watertight seal. It’s also flexible and durable, meaning it will last long – even when exposed to moisture or extreme temperatures.
It’s a great option for sealing around showers and sinks, as it’s resistant to mold growth. However, you might need to remove old silicone sealant at some point, and it can be tricky to do.
Before you begin removing the old silicone, it’s a good idea to soften up the residue with an appropriate solvent. This will ensure it’s easier to remove, and it can help with any black mould forming on the surface.
For example, you might try using a mixture of vinegar and water or spraying WD-40 on the sealant for a few hours before scraping and removing it. You can also try using a dedicated chemical sealant remover, which will get the job done quickly and safely.
Aside from this, you can always clean the silicone off by wiping it down with a damp cloth or sponge. This will prevent oil and grease from soaking into the pores of the product, which can result in a white residue over time.
Another good option is to use a specialised sealant removal product, which will break down the old silicone and make it easier to remove. This will save you a lot of time and hassle, and it’s a good way to avoid damaging your surfaces.
If you do need to remove older silicone sealant, it’s a good idea to keep a few handy tools on hand to ensure the job goes smoothly. For instance, a Stanley knife is often the safest and most effective option for cutting through silicone sealant.
Alternatively, you might prefer to use a pair of needle-nose pliers to grip the silicone and pull it away from the wall. You can also use a putty knife to scrape it away from the walls, but be sure to work carefully and slowly as you don’t want to damage your tiles or the surrounding area.


